
Lay out and capture
Arrange the pieces together, or take the creased print as it is, and photograph it in soft daylight. Every fragment in the frame helps the repair.
Tears, creases, and fold lines are thin bands of missing picture, and PicFix closes them invisibly in one tap while sharpening the rest. It runs on iPhone and Mac, or in your browser, and the torn original is never altered.
 After
After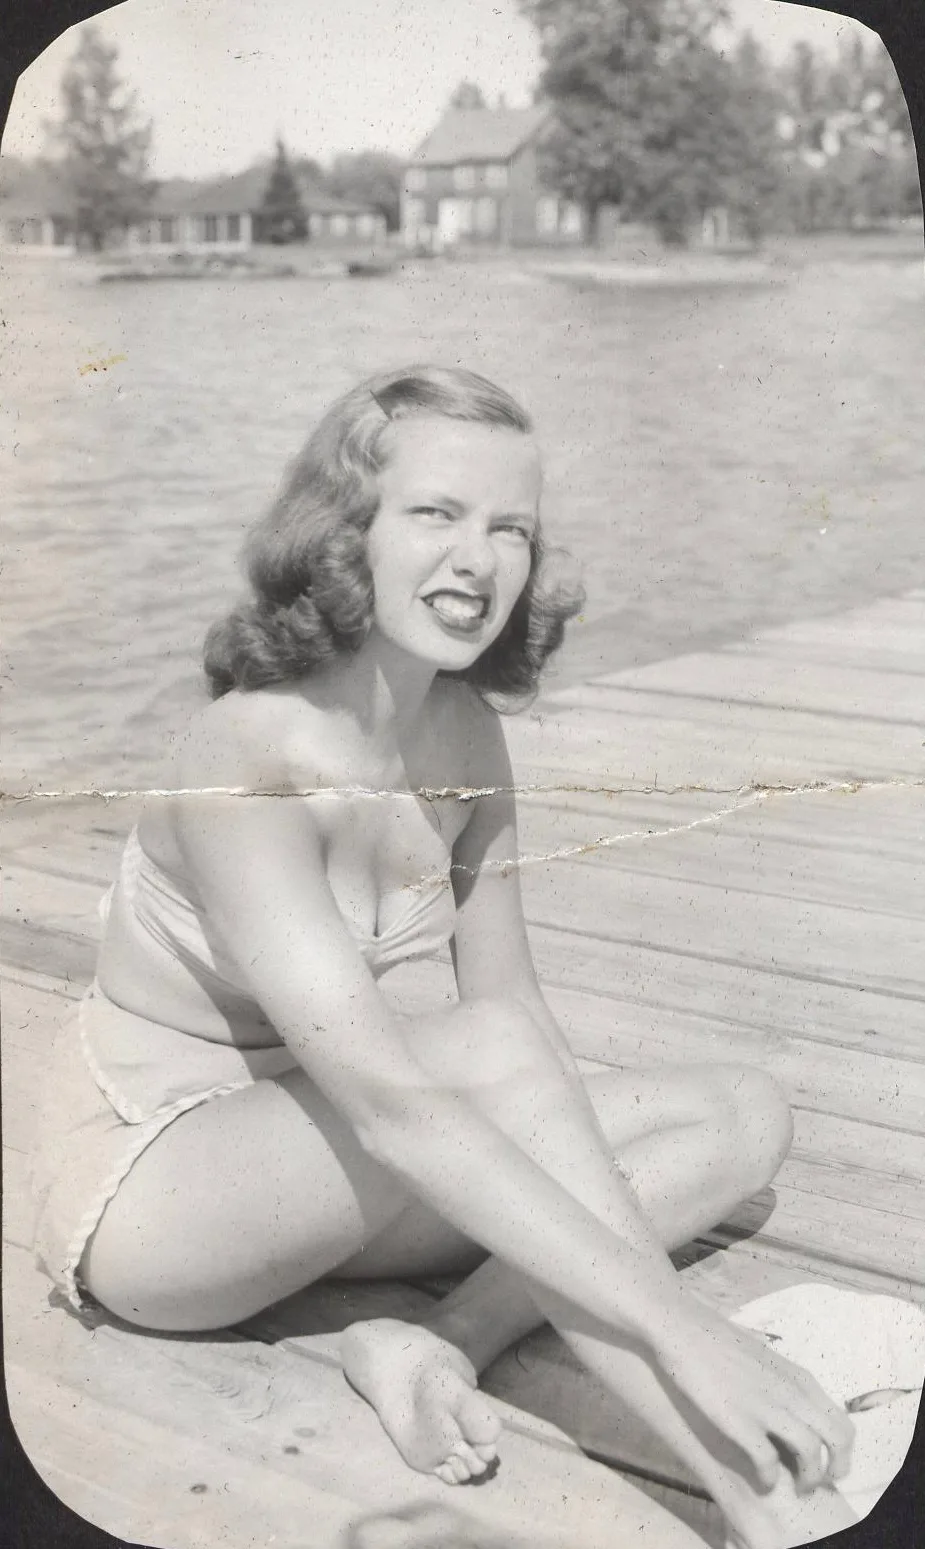 Before
Tape feels like the natural first aid for a torn photo, and it is the one repair conservators spend hours undoing. The adhesive sinks into the paper and stains it for good. Keep every fragment loose and flat in a paper envelope instead, including the small ones, because each fragment carries picture the repair can use.
For the capture, lay the pieces together on a flat, plain surface in soft window light and shoot square-on. A slightly skewed capture is fine, since software straightens it losslessly. From there the repair is digital: the tear closes, the crease disappears, and the print in the envelope stays exactly as it was.
Missing pieces deserve an honest sentence. The model fills a gap with what plausibly belongs there, which is dependable for sky or a wall and a guess for anything unique. If the gap held a face, the fill is an invention, and our methodology page shows what that looks like on real photos. The damage-by-damage guide covers the full picture, tears included.
Three steps from a creased print to a clean picture. Same on iPhone, Mac, and the web.
Arrange the pieces together, or take the creased print as it is, and photograph it in soft daylight. Every fragment in the frame helps the repair.
Pinch and rotate inside the preview to frame just the print, then tap Fix Photo. Tear lines and creases close while sharpness and lighting come back.
Drag the slider across the result and check the repair, especially near faces. Keep both versions; the torn original is never overwritten.
One tap handles the damage, and the same pass restores the picture around it.
Tear lines, hard creases, and fold marks close invisibly, with the pattern on either side joined back together.
Chipped corners and worn edges rebuild cleanly, and rounded snapshot borders stay where they belong.
The same pass sharpens softened detail and corrects faded lighting, and original colors are kept. Add color to monochrome prints with Fix & Colorize.
A gap that held a face gets an invented one, so check any face near the damage against the original. The methodology page shows real examples of both outcomes.
Yes. A tear or crease is a thin line of missing information, and Fix Photo closes it invisibly while sharpening the picture and correcting faded lighting. Larger missing areas get rebuilt from what plausibly belongs there, which works for backgrounds and deserves a careful look near faces.
No. Tape adhesive sinks into the paper, stains it permanently, and takes slow conservator work to remove. Keep every fragment loose and flat in a paper envelope, lay the pieces together for the capture, and let the repair happen digitally.
It fills the gap with what plausibly belongs there. For sky, grass, or a wall the fill is as good as the original. A missing face is different: the model invents one, so we flag that honestly and recommend checking any face near the damage against the original.
Lay the pieces together on a flat, plain surface in soft window light and shoot square-on, without forcing curled fragments flat. Include every fragment, even small ones. The capture is also your safety net, and your original file is never altered.
The example above is a creased 1945 family snapshot from the Infrogmation family archive (CC BY-SA 2.0), repaired with one tap. Yours takes about a minute.